Audio Capture
Intro
Audio capturing is specific because it depends on the type of source. The history of audio recording is long and the formats were changed during the period. In this section we will focus on some most common formats that can be found in smaller CHIs.
- LP and singles Records (33, 45 and 78 rpm)
- audio cassette
- compact disk CD
- audio recorders
This formats have appropriate device:
- gramphone for Records
- audio cassette player
- CD player
The equipement
- computer
- external USB sound card
- appropriate device
- headphones or speaker
Use
For audio capturing it is recommended to use an external USB audio card, there are on the market decent audio cards and digital mixers (2 channels) that will give a good and quality recording. The advantage of using an external audio card is in its implemented A/D converter (analogue to digital signal converter) which converts audio signal to digital. The quality in external audio cards is better than integrated audio card on PC or laptop. Another advantage is the variety of input options, RCA stereo (red and white), for example, which fits to most audio devices output.
One of the bad things in audio capturing is time, all processes must go 1:1, how long the record is so long is capturing. If you have a cassette that lasts 90 minutes, plan to record 90 minutes.
The good thing is that you need an audio device, audio card, computer, cables, speakers or headphone and material. Just plug in everything, press the record on the computer and listen to it.
Audio recorders can be used for interview recording (for example an interesting member of a community), urban surroundings, birds, … All models today are digital and can be easily transferred on a computer.
One of the most used FLOSS software for audio recording/editing is Audacity. It is a cross-platform software which means that it can be installed on Linux, Windows and MacOS. It is regularly updated and very easy for handling. Here is a short intro from their manual how to record a sound from a microphone but the same is for line-in just check the source signal (stereo or mono). https://support.audacityteam.org/basics/recording-your-voice-and-microphone
The process
- Prepare the material
- On device (gramophone, audio cassette player, CD player), check the output format (mostly RCA red and white) and plug the cables
- On audio use line in chanel and plug the cable following the colors (red and white)
- On computer open a audio recording software and press Record or REC (red dot)
- Play audio from device
- The recording level must never exceed the zero level, otherwise the sound will be cut and distorted. Thus, it is recommended that the maximum recording level should be adjusted at least 3–6 dB below zero.
- Record the file in WAV format, most common is 44.1 kHz and 16 bit. Mono recording to mono file, stereo recording to stereo file. _ Recording with 96 kHz/24 bit gives better possibilities to correct errors afterwards, but the storage space requirement is double accordingly.
- However, born-digital audio should be transferred with the same sampling rate/bit depth as they were recorded. So e.g. CDs with 44.1kHz/16 bit.
Most common problems
Capturing audio brings some regular problems with it.
-
Gramophone records mostly have little or bigger scratches on it and dust. Before playing it is recommended to clean a record with a small soft record cleaner (can be found in almost every music shop). Most records, during play, produce pop and clicks. This can be cleaned in a software, for this more on digital preparation. Jump over and back the part of recording, which is harder to repeat in software because this over jumped part will miss in the captured file.
-
Audio cassette players mostly have a problem with a dirty head (a piece which reads the tape). Regular cleaning of the head, using an isopropyl-dipped cotton swab, is recommended, as errors caused by a dirty head are difficult to correct afterwards.
-
The quality of recording on tape can be low, with noise and low signal level. This problem, also can be solved in software, later in this more on digital preparation.
-
The quality may often be improved if the tape is rewinded back and forth a couple of times before it is digitized.
-
Compact disk, also can be scratched which produces a jump for some amount of recording, or constant back to the same part of recording. If that happens there are polishing kits available that can repair damaged plastic surface of disc. But the success of repair depends on the amount of plastic damage. Also clicks can be present on CD, which means that the disc is near to the end of life and unusable anymore.
-
CDs have a quite limited lifespan. This applies especially to self-recorded discs. Thus, it is recommended to transfer them without unnecessary delays to a better storage platform for long-term storage.
Audio cables:
 RCA cable
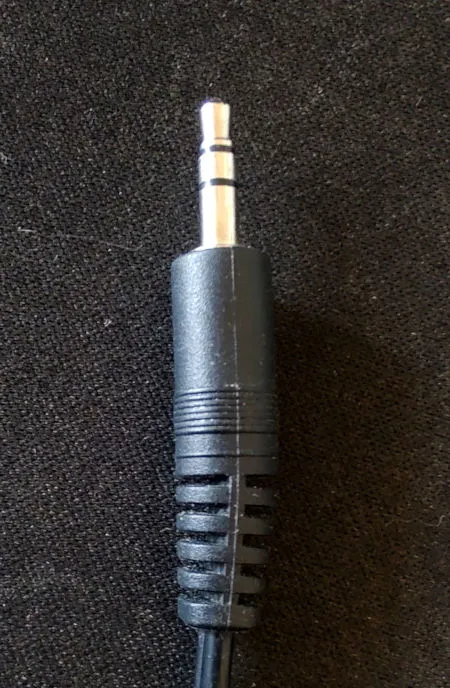 3.5mm cable
The required cables depend on the devices used. The most common connections for consumer devices are RCA and 3.5 mm miniplug. Many USB sound cards have 6.3 mm inputs, so you need a cable with RCA connectors on one end to connect to the tape recorder, and 6.3 mm plugs on the other end for the sound card.
More information
More detailed information about the digitization of audio recordings can be found, for example, in the Time Machine Organisation’s Audio Digitization Pipeline document. It also contains information about audio formats other than those described above, such as open reel tapes, DAT tapes and Minidiscs. https://github.com/time-machine-project/requests-for-comments/blob/master/files/releases/RFC-0034/RFC-0034.md